Welcome to the MPskin Video Tutorials

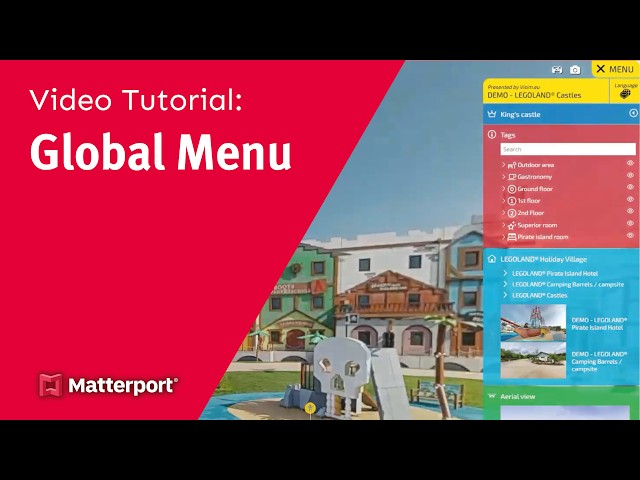
Our video tutorials will help you familiarize yourself with MPskin faster, learn tips and tricks and get the most out of your subscription.

The tutorial library is constantly being expanded and soon you will also find the MPskin user manual with detailed descriptions, examples and tips for implementation. 

Base Settings

This tutorial explains the basics of MPskin - the dashboard, the main tabs and how to create a new skin.

Virtual Staging

With the help of virtual staging, images, icons, videos and 3D objects can be integrated into a tour. Thanks to our built-in furniture catalog with over 600 models, you can even furnish entire houses!

Menu

The menu is the heart of every tour - in addition to logos and contact details, direct navigation, images, videos, tags, social links, a map and other skins can be linked here. A tag search or tag categories can also be integrated!

Tags

In this tutorial you will learn how to create and configure tags with MPskin! There is an example for each tag type, and at the end it is explained how best to work with tag categories and what possibilities they offer.

Scans/Floors

This feature allows you to create a variety of tour versions by activating or deactivating different scan points. For example, by duplicating the skin, a version can be created where certain areas are not accessible.

Highlightreels

With MPskin's highlight reel editor, you can not only create as many highlight reels as you like, but also insert completely different content into your reels!

Sweep Point Action

With “Sweep Point Action”, MPskin users can now make their tours even more interactive! Link scan points/sweep points with an action of your choice to automatically display or play certain content to users as they navigate the tour.

Entry Popup

With the help of an entry pop-up, users can be welcomed at the start of the tour: add graphics, text, videos, external links or 360° photos that provide users with additional information.

360° Panorama

With our panorama feature, you can easily add high-resolution 360-degree images to your tour! The images can be up to 10,000 x 5,000 pixels in size. By adding so-called “hotspots”, any click actions can be linked to the panorama, for example further panoramas, audio files, photos, text or external links.

Minimap

Add a minimap to give visitors a better overview. You can even insert your own minimap with our minimap upload!

New Lights for Virtual Staging

In this tutorial you will learn how to work with the new lights/shadows for virtual staging. Create realistic lighting and shadows to make your virtual staging objects look as natural as possible. 

Green Screen Videos

Green screen videos can also be easily integrated into any tour. The color of the video background can be selected and removed using our integrated “Color Picker”.