Feature: 
Green Screen-Videos

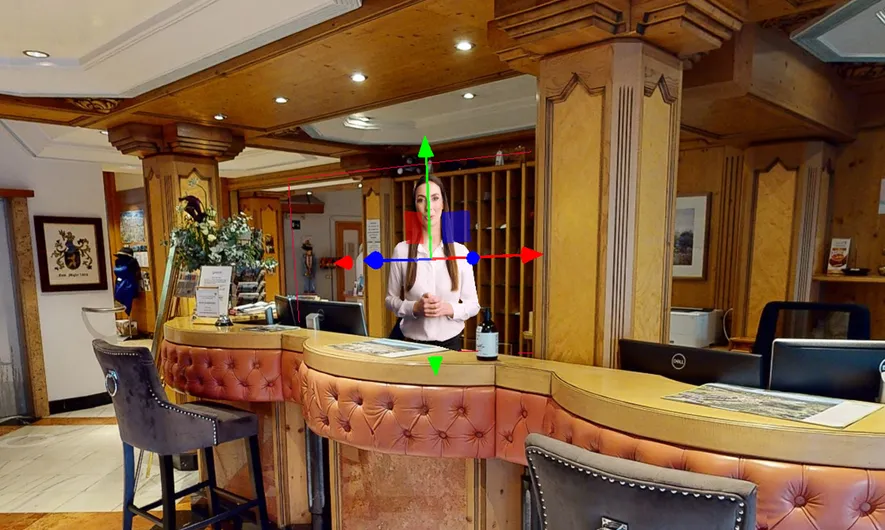
With Virtual Staging, green screen videos can be easily integrated into any tour. 


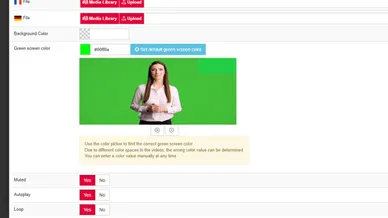
With our integrated “Color Picker”, the color of the video background can be selected and removed.  
In this way, for example, you can incorporate videos of people greeting guests or sharing valuable information. Almost as if someone was on site!


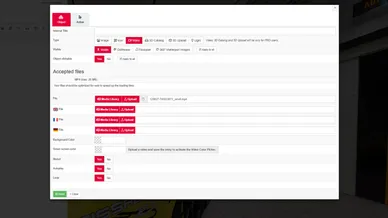
By using “Sweep Actions”, videos can even be configured to automatically play after a certain sweep point has been reached.

Step 1: Recording the video

First of all, you need a suitable video. In general, any type of video can be used as long as it is web-optimized and in MP4 format. 
In addition to classic green screen videos, other background colors can also be used, for example a “blue screen”. Care should be taken to ensure that the color of the background is distinctly different from the colors of the person/object in the foreground.

Step 2: Uploading the video to MPskin

The video can now be uploaded to MPskin. To do this, navigate to the Virtual Staging tab and open the editor. Find a suitable point to place the video and upload it in the input mask.
Before the green screen can be removed, the video must be placed in the tour. 

Step 3: Using the Color Filter

After placing, click on “Edit” again and navigate to the Color Filter. Here you can either automatically select the color with the “Color Picker” or select the default green screen color. 
We recommend using the default color, as this is the most reliable way to remove the background correctly. For other colors (everything except green), the color picker must be used.
This may not work straight away - in this case you will need to test which color works correctly.

FAQs about Green Screen Videos

Can I also use other background colors?

Yes, in principle almost any background color can be used and removed. 
Please note, however, that the background color must be clearly distinct from the color of the objects/persons appearing in the foreground! 

What size should the videos be?

Since the videos are added as virtual staging objects, the same guidelines as with all virtual staging objects apply.
Videos should always be web-optimized, the total size should ideally remain under 5 MB. Larger sizes can still perform well, but it depends on the total size of the space as well as how many other VS objects there are in the tour.

The Color Filter is not working, what can I do?

The color of the background can be selected with the “Color Picker”, alternatively you can also select the standard green screen color. 
We recommend using the default color, as this is the most reliable way to remove the background correctly. For other colors (everything except green), the Color Picker must be used.

This may not work straight away - in this case you must test which color works correctly. 
Usually, if errors occur, the entire video is “filtered” and becomes “invisible”. In that case, you can try selecting a slightly darker or lighter filter color so that the background is removed correctly.

How can I make the video play automatically?

If you have not set your video to “Autoplay”, you can use Sweep Actions to automatically play the video as soon as the user reaches a certain scan point (or group of scan points).

To do this, navigate to the Sweep Actions tab and select one or more scan points. Then click on “from Virtual Staging” in the “Action” tab and select the video. 

Can I adjust the display size of the video?

Yes! As with all other virtual staging objects, videos can also be adjusted by using the “scale” mode. 
The scaling of the video can be freely selected, it can be enlarged overall or “only” adjusted in height or width.

Start your creative journey with MPskin!